引言
本文介绍如何利用 Github Pages + Hexo 搭建自己的个人博客静态网站
Github Pages 可直接从 Github 仓库创建网站
Hexo 是一个快速、简洁且高效的博客框架
我会尽量将建立过程讲述清楚,但清楚并不等于事无巨细,一些基础操作(例如注册账号等)会用简单的一句话略过
搭建
Node.js 和 Git
Node.JS
下载 Node.JS 并安装
验证安装
node -v
npm -v
国内可使用 cnpm 加速
npm install -g cnpm --registry=https://registry.npm.taobao.org验证安装
cnpm -vGit/Github
下载 Git 并安装
验证安装
git --versionGithub 仓库
创建 Github 仓库,仓库名称格式为 <username>.github.io
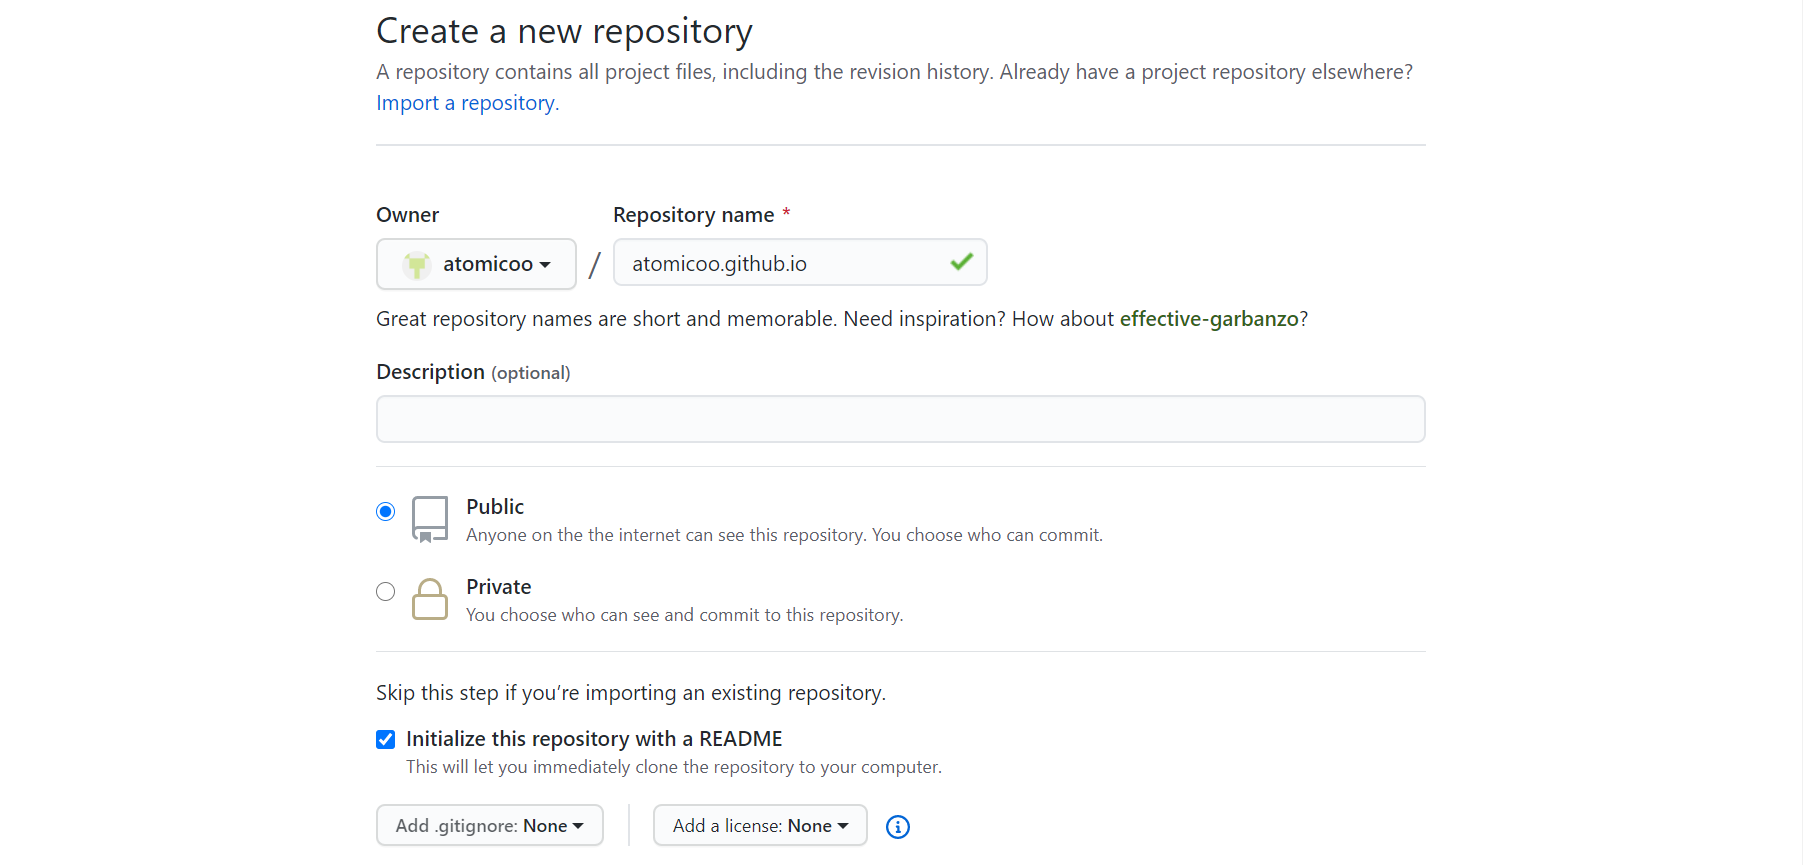
并在 setting 中勾选 githubpage
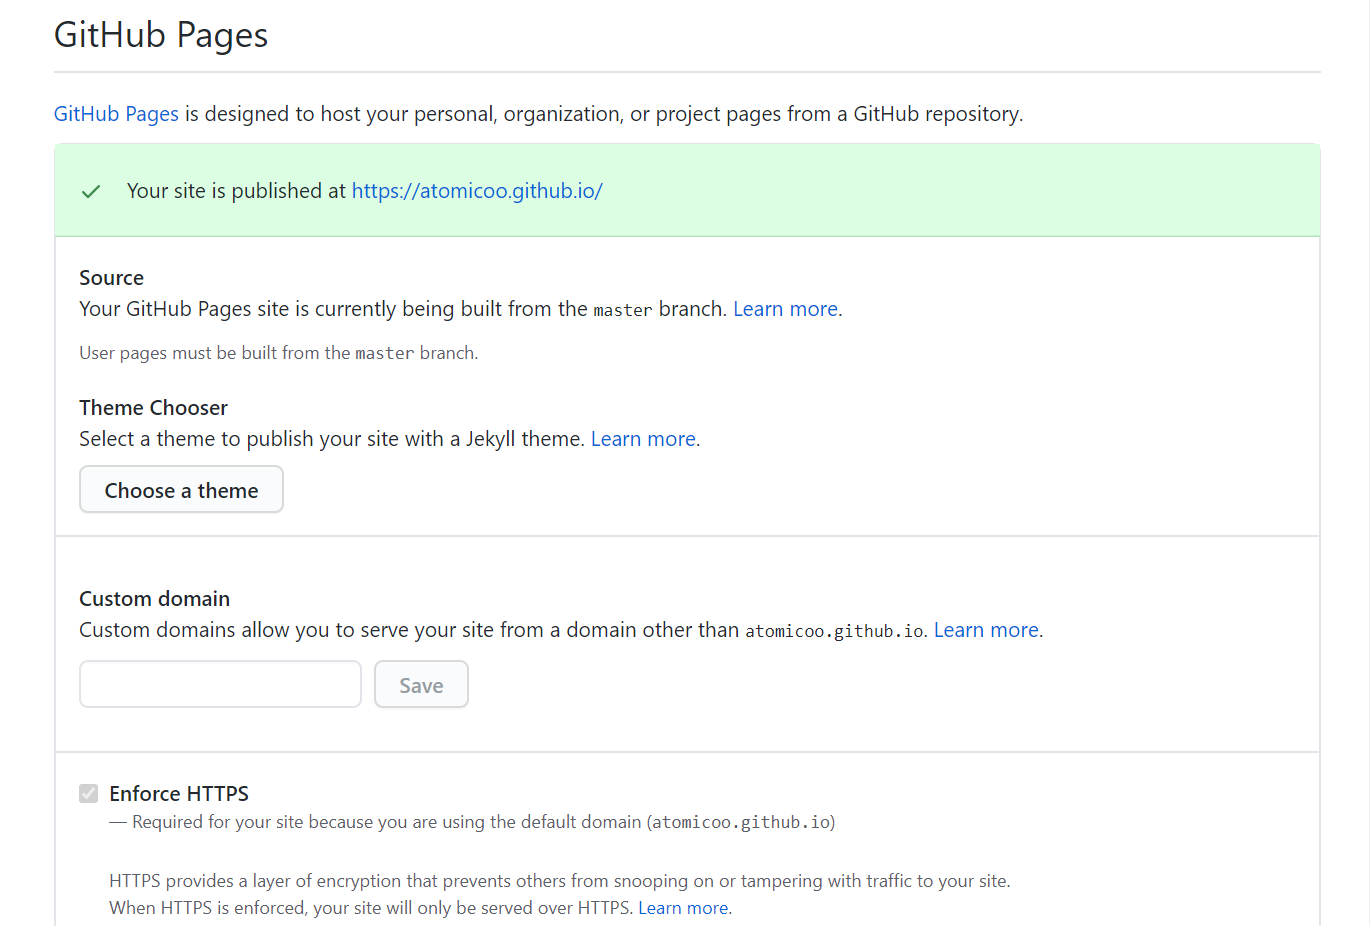
完成后即可通过 https://<username>.github.io/ 访问
Hexo 配置博客
Github Pages 支持 Jelly 和 Hexo 来搭建静态界面,此处选择使用 Hexo 搭建
初始化 Hexo
安装 Hexo 并初始化项目,参考 Hexo 官方文档
cnpm install hexo-cli -g
hexo init [target-dir]
cd [target-dir]
cnpm install
完成后指定文件夹目录结构
.
├── _config.yml
├── package.json
├── scaffolds
├── source
|   ├── _drafts
|   └── _posts
└── themes
静态网页
生成静态网页,此命令会在项目根目录下生成 public 文件夹
hexo generate本地运行静态网页
hexo server首次运行时会先自动安装 hexo-server,也可手动安装
cnpm install hexo-server --save启动 Hexo 项目后即可通过 http://localhost:4000 进行本地访问
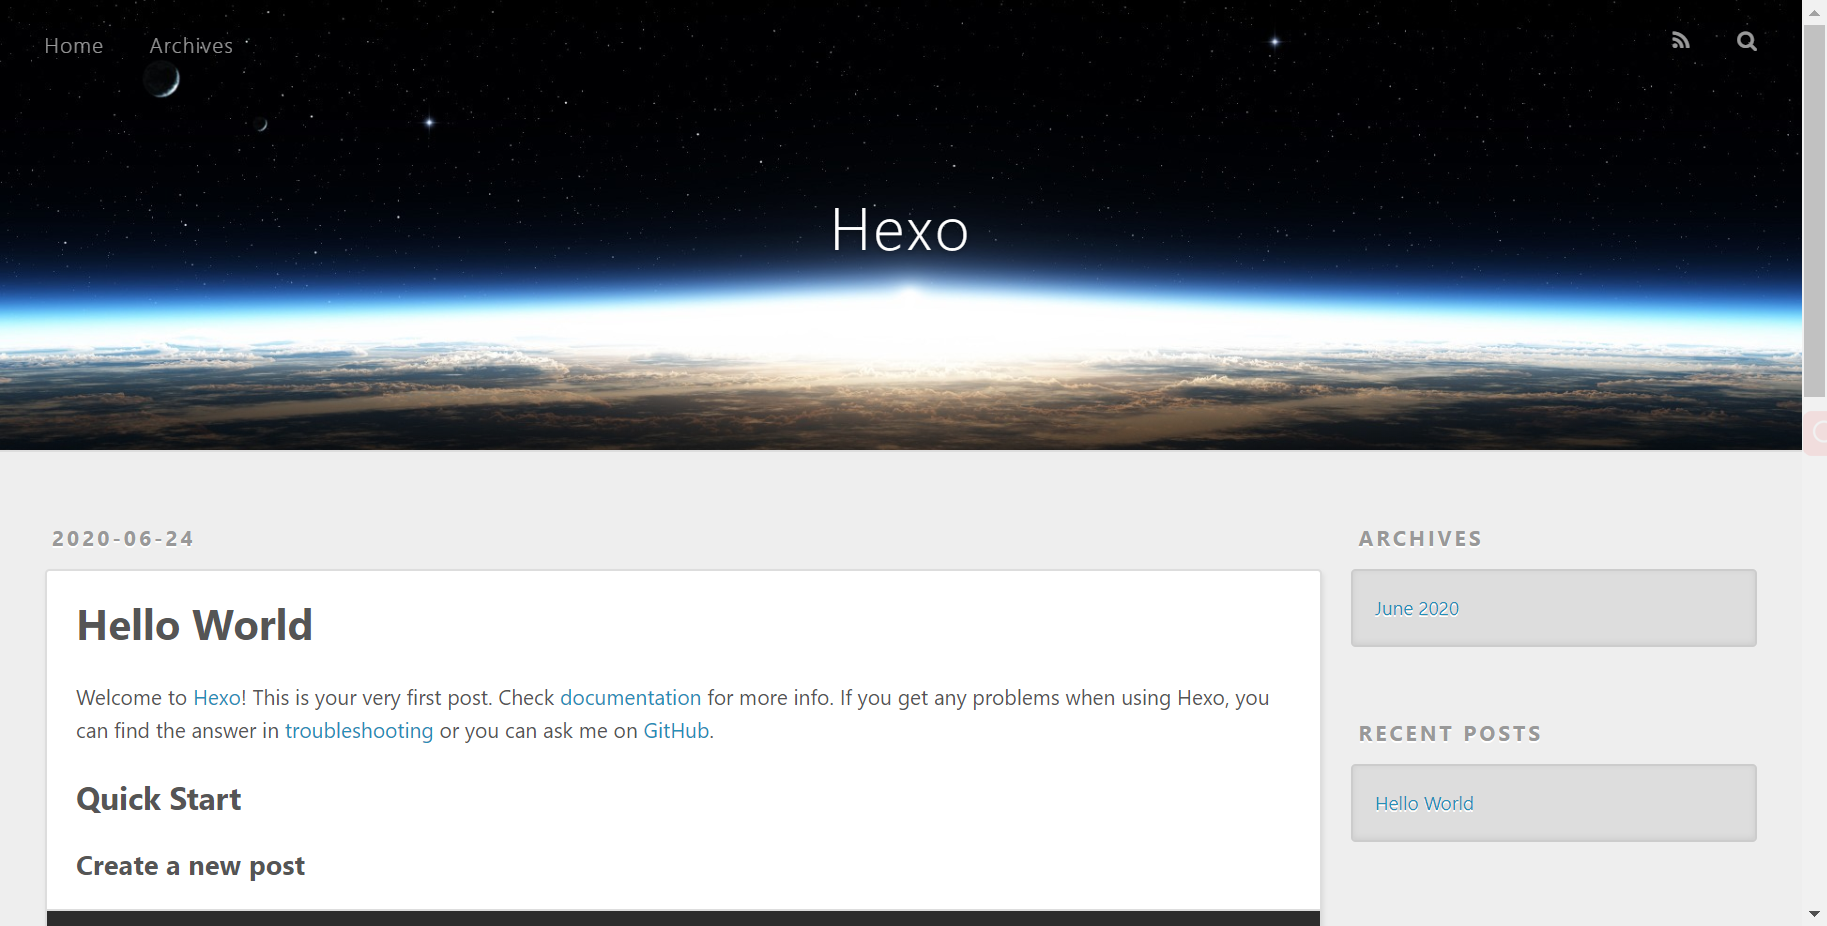
Hexo 主题(可选)
Hexo 默认提供的 hexo-theme-landscape 主题样式简单、功能较少,大多数人都会根据自己的喜好使用其他主题
这里列几个我认为比较有意思的主题:hexo-theme-ocean、hexo-theme-huhu、hexo-theme-fluid、hexo-theme-yun。此外还可以在 Themes | Hexo 发现更多主题或者根据自己的审美偏好开发属于自己的主题(可以参考:hexo-theme-yun 制作笔记)
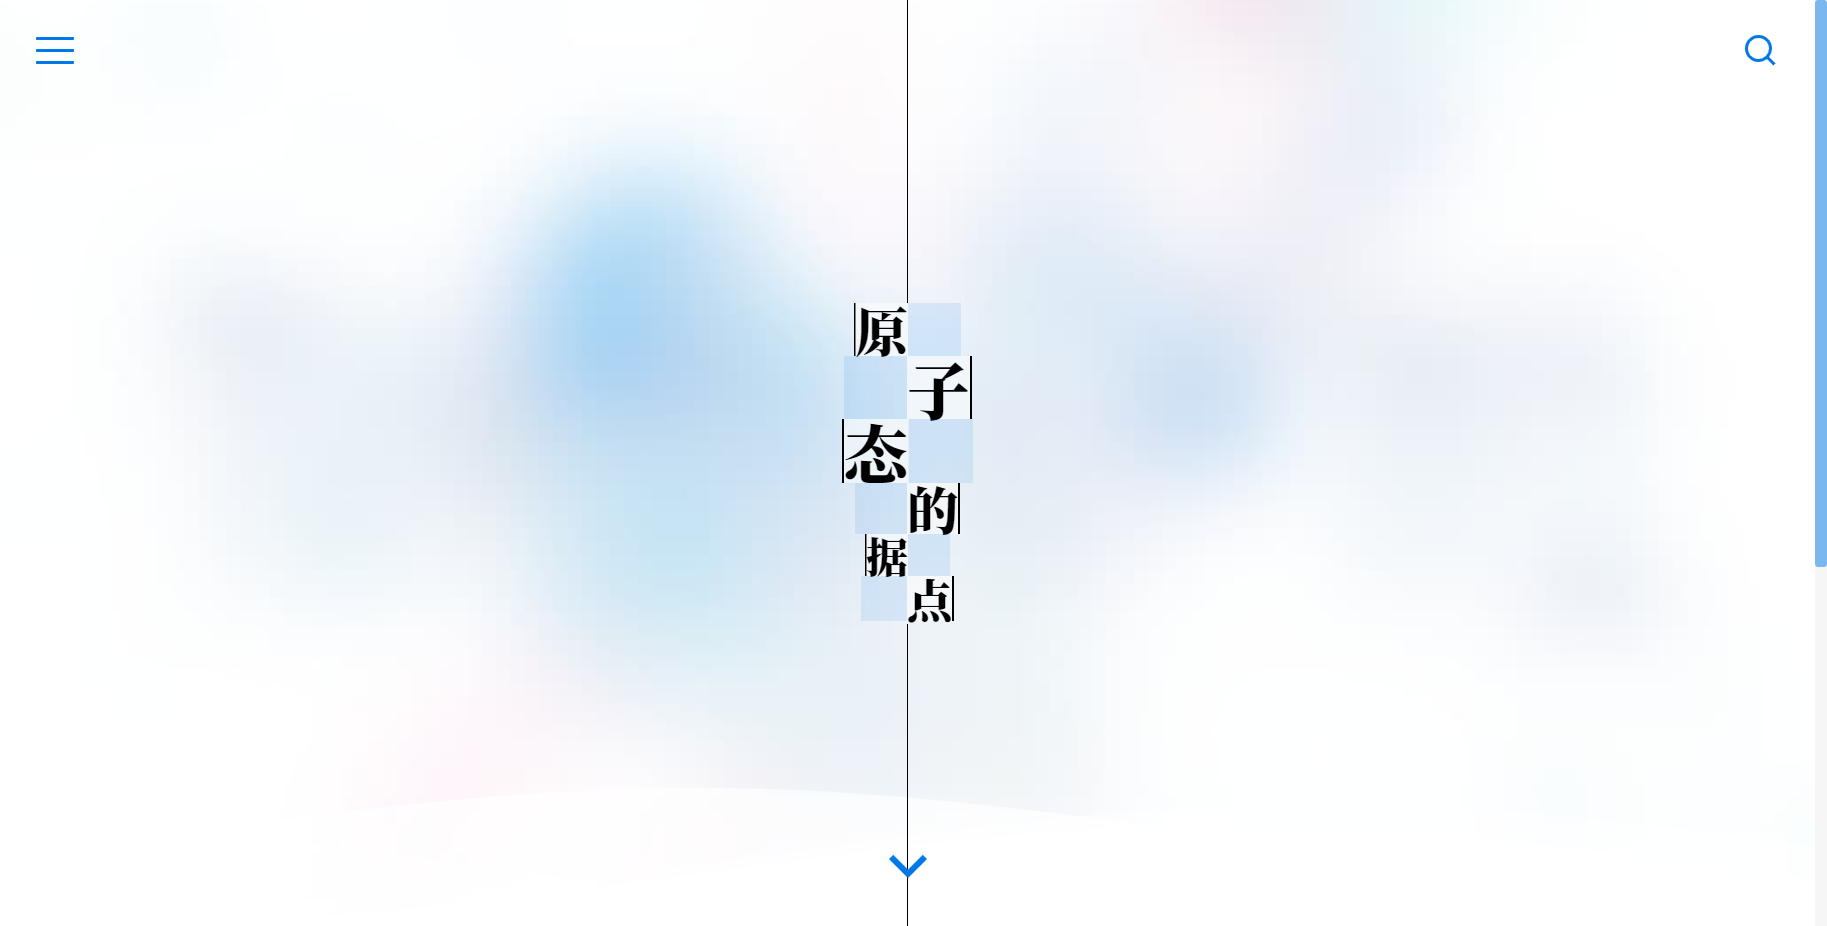
这里选用最后一个 hexo-theme-yun 来示范如何使用,展示效果
下载主题,在根目录下运行命令
git clone -b master https://github.com/YunYouJun/hexo-theme-yun themes/yun编辑 Hexo 配置文件 _config.yml
- theme: landscape
+ theme: yun
需要注意的是,有的主题是有额外的依赖要求的,比如此次示范的主题由于使用了 hexo-render-pug 和 hexo-renderer-stylus,需要运行命令安装
cnpm install hexo-render-pug hexo-renderer-stylus --save该主题的详细使用文档 Docs of Hexo-Theme-Yun,可根据文档进行额外的配置,定制出符合自己喜好的主题
完成后运行 hexo server 重新启动即可看到一个不同主题风格的页面
部署
部署到 Github
需要先安装部署插件 hexo-deploy-git
cnpm install hexo-deployer-git --save然后编辑配置文件 _config.yml 添加内容
deploy:
  type: git
  repo: git@github.com:zhanghanlun/zhanghanlun.github.io.git
  branch: master
最后通过命令部署
hexo deploy
or
hexo clean && hexo deploy
保存,部署,完成后即可通过 https://atomicoo.github.io/ 访问
备份与自动部署
源码备份
以上步骤已将静态文件部署到 Github 上了,但最好将源码也备份一份以防万一(比如误删源码的情况等)
创建新分支 source 用于备份源码,仅首次
git init
git branch source
git branch -v
注意:Git 的初始化仓库必须至少
commot过一次才会真正创建master分支,所以以上git init之后需要先随便提交一次,比如,git add README.md && git commit -m "first commit",否则会报错
与 Github 仓库建立连接,仅首次
git remote add origin https://github.com/atomicoo/atomicoo.github.io提交源码至本地 Git 仓库的 source 分支
git checkout source
git add -A
git commit -m "commit message"
将源码推送至远方 Github 仓库的 source 分支
git push origin source此处需要输入 Github 用户名和密码
注意:为了避免我们所使用的 Hexo 主题相关仓库的变动导致我们的站点出问题,我们可以自行 Fork 相关仓库然后作为子库调用。这里使用了
git-submodule,参考 Docs of Git Submodule
# git submodule add <远程仓库> <本地路径>
git submodule add -b master https://github.com/atomicoo/hexo-theme-yun.git themes/yun
自动部署
如果每次修改都需要人工进行部署的话其实是非常麻烦的,此时我们就可以考虑使用持续集成进行自动部署,比较常用的是 Github Actions,Netlify,Travis CI
具体方案及部署步骤请参考 初探无后端静态博客自动化部署方案 或者 Hexo 官方文档 将 Hexo 部署到 GitHub Pages
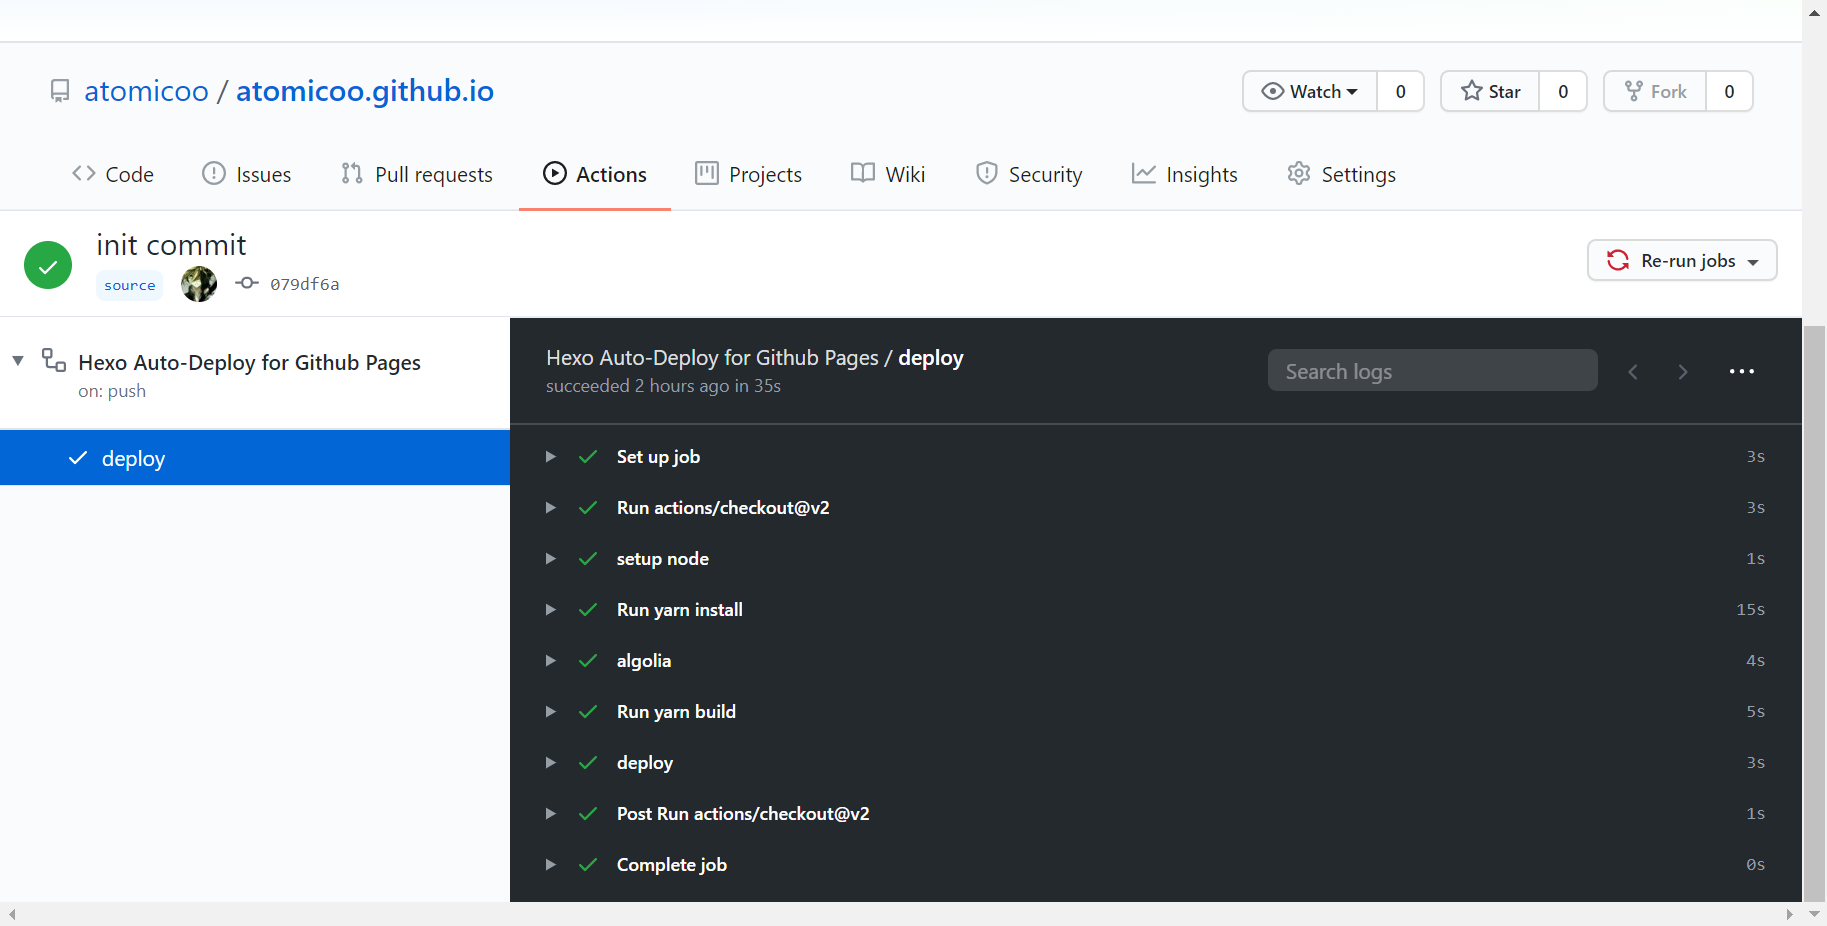
若选择使用 Github Actions,可参考我的自动部署脚本 gh-pages.yml
对应的 Github 项目 <username>.github.io 的 Actions 中可查看自动部署的历史情况
至此,个人博客网站基本搭建完成,接下来根据自己的需求与喜好持续完善即可。
写作
文章
新建博客 <title>.md
hexo new [layout] [title].md 是 Markdown 文档的后缀名,对 Markdown 的简单的了解见 Markdown 基本语法 和 Markdown 样式示例
布局(Layout)
| 布局 | 路径 |
|---|---|
| post | source/_posts |
| page | source |
| draft | source/_drafts |
如果你不想你的文章被处理,你可以将 Front-Matter 中的
layout:设为false
文件名称
| 变量 | 描述 |
|---|---|
:title |
标题(小写,空格会替换为短杠) |
:year |
建立的年份 |
:month |
建立的月份(有前导零) |
:i_month |
建立的月份(无前导零) |
:day |
建立的日期(有前导零) |
:i_day |
建立的日期(无前导零) |
草稿(Draft)
Draft 是 Hexo 的一种特殊布局,会被保存到 source/_drafts 中,通过 pubilsh 可以将其移动到 source/_posts
hexo publish [layout] [title]模板(Scaffold)
新建文章时,Hexo 会根据 scaffolds 文件夹中对应的文件来建立文件。模板中可使用的变量如下
| 参数 | 描述 | 默认值 |
|---|---|---|
layout |
布局 | |
title |
标题 | 文章的文件名 |
date |
建立日期 | 文件建立日期 |
updated |
更新日期 | 文件更新日期 |
comments |
开启文章的评论功能 | true |
tags |
标签(不适用于分页) | |
categories |
分类(不适用于分页) | |
permalink |
覆盖文章网址 | |
keywords |
仅用于 meta 标签和 Open Graph 的关键词(不推荐使用) |
Front-matter
Front-matter 是文件最上方以 --- 分隔的区域,用于指定个别文件的变量,例如
---
title: Hello World
date: 2013/7/13 20:46:25
---
预定义变量详见 模板(Scaffold)
分类和标签
categories:
- Diary
tags:
- PlayStation
- Games
注意:同级多分类
categories:
- [Diary, PlayStation]
- [Diary, Games]
标签插件
标签插件用于在文章中快速插入特定内容的插件
引用块
别名:quote
{% blockquote [author[, source]] [link] [source_link_title] %}
content
{% endblockquote %}
代码块
别名:code
{% codeblock [title] [lang:language] [url] [link text] [additional options] %}
code snippet
{% endcodeblock %}
其他
# iframe
{% iframe url [width] [height] %}

# image
{% img [class names] /path/to/image [width] [height] '"title text" "alt text"' %}

# link
{% link text url [external] [title] %}

# include code
{% include_code [title] [lang:language] [from:line] [to:line] path/to/file %}

# youtube
{% youtube video_id %}

# 引用文章链接
{% post_link filename [title] %}

# 引用文章资源
{% asset_link filename [title] %}
文章摘要和截断
在文章中使用 <!-- more -->,那么 <!-- more --> 之前的文字将会被视为摘要。首页中将只出现这部分文字,同时这部分文字也会出现在正文之中
资源文件夹
资源(Asset)表示除了文章外的其他文件,例如图片、JS、CSS 等。当资源文件较少时,可以直接放在同一个文件夹下,例如图片文件统一放在 source/images 中,但当资源文件较多时这显然不是一个合适的解决方案。Hexo 提供了更组织化的方式来管理资源文件,通过 设置 _config.yml 中的 post_asset_folder 为 true 即可开启。开启该功能后,每次新建文章时 Hexo 都会自动创建一个相应的同名文件夹用以存放文章的资源文件,引用时按照 其他 中的 引用文章资源 方式即可
数据文件夹
这部分我用的比较少,暂略。此处插眼 Hexo 文档 | 数据文件夹
参考资料


- 本文链接:https://atomicoo.com/everything/how-to-build-your-site/
- 版权声明:本博客所有文章除特别声明外,均默认采用 许可协议。
每篇文章的首个评论需要先根据 Comment 模板创建相应的 Issue
请避免创建重复的 Issue,感谢配合
GitHub Issues